How to Ship Coral Frags: A Step-by-Step Guide
Posted by Miles Harrison on 12/12/2022
We use affiliate links and may receive a small commission on purchases.
Let’s face it, shipping coral frags can be a pretty unnerving experience. These living organisms require specific conditions to survive, and you’ll need to maintain these conditions throughout the shipping process.
Whether you’re shipping to a friend or a customer, it's important that you understand the correct way to package and ship coral.
In this guide, we'll break it down step-by-step so that you can safely ship coral frags in no time.
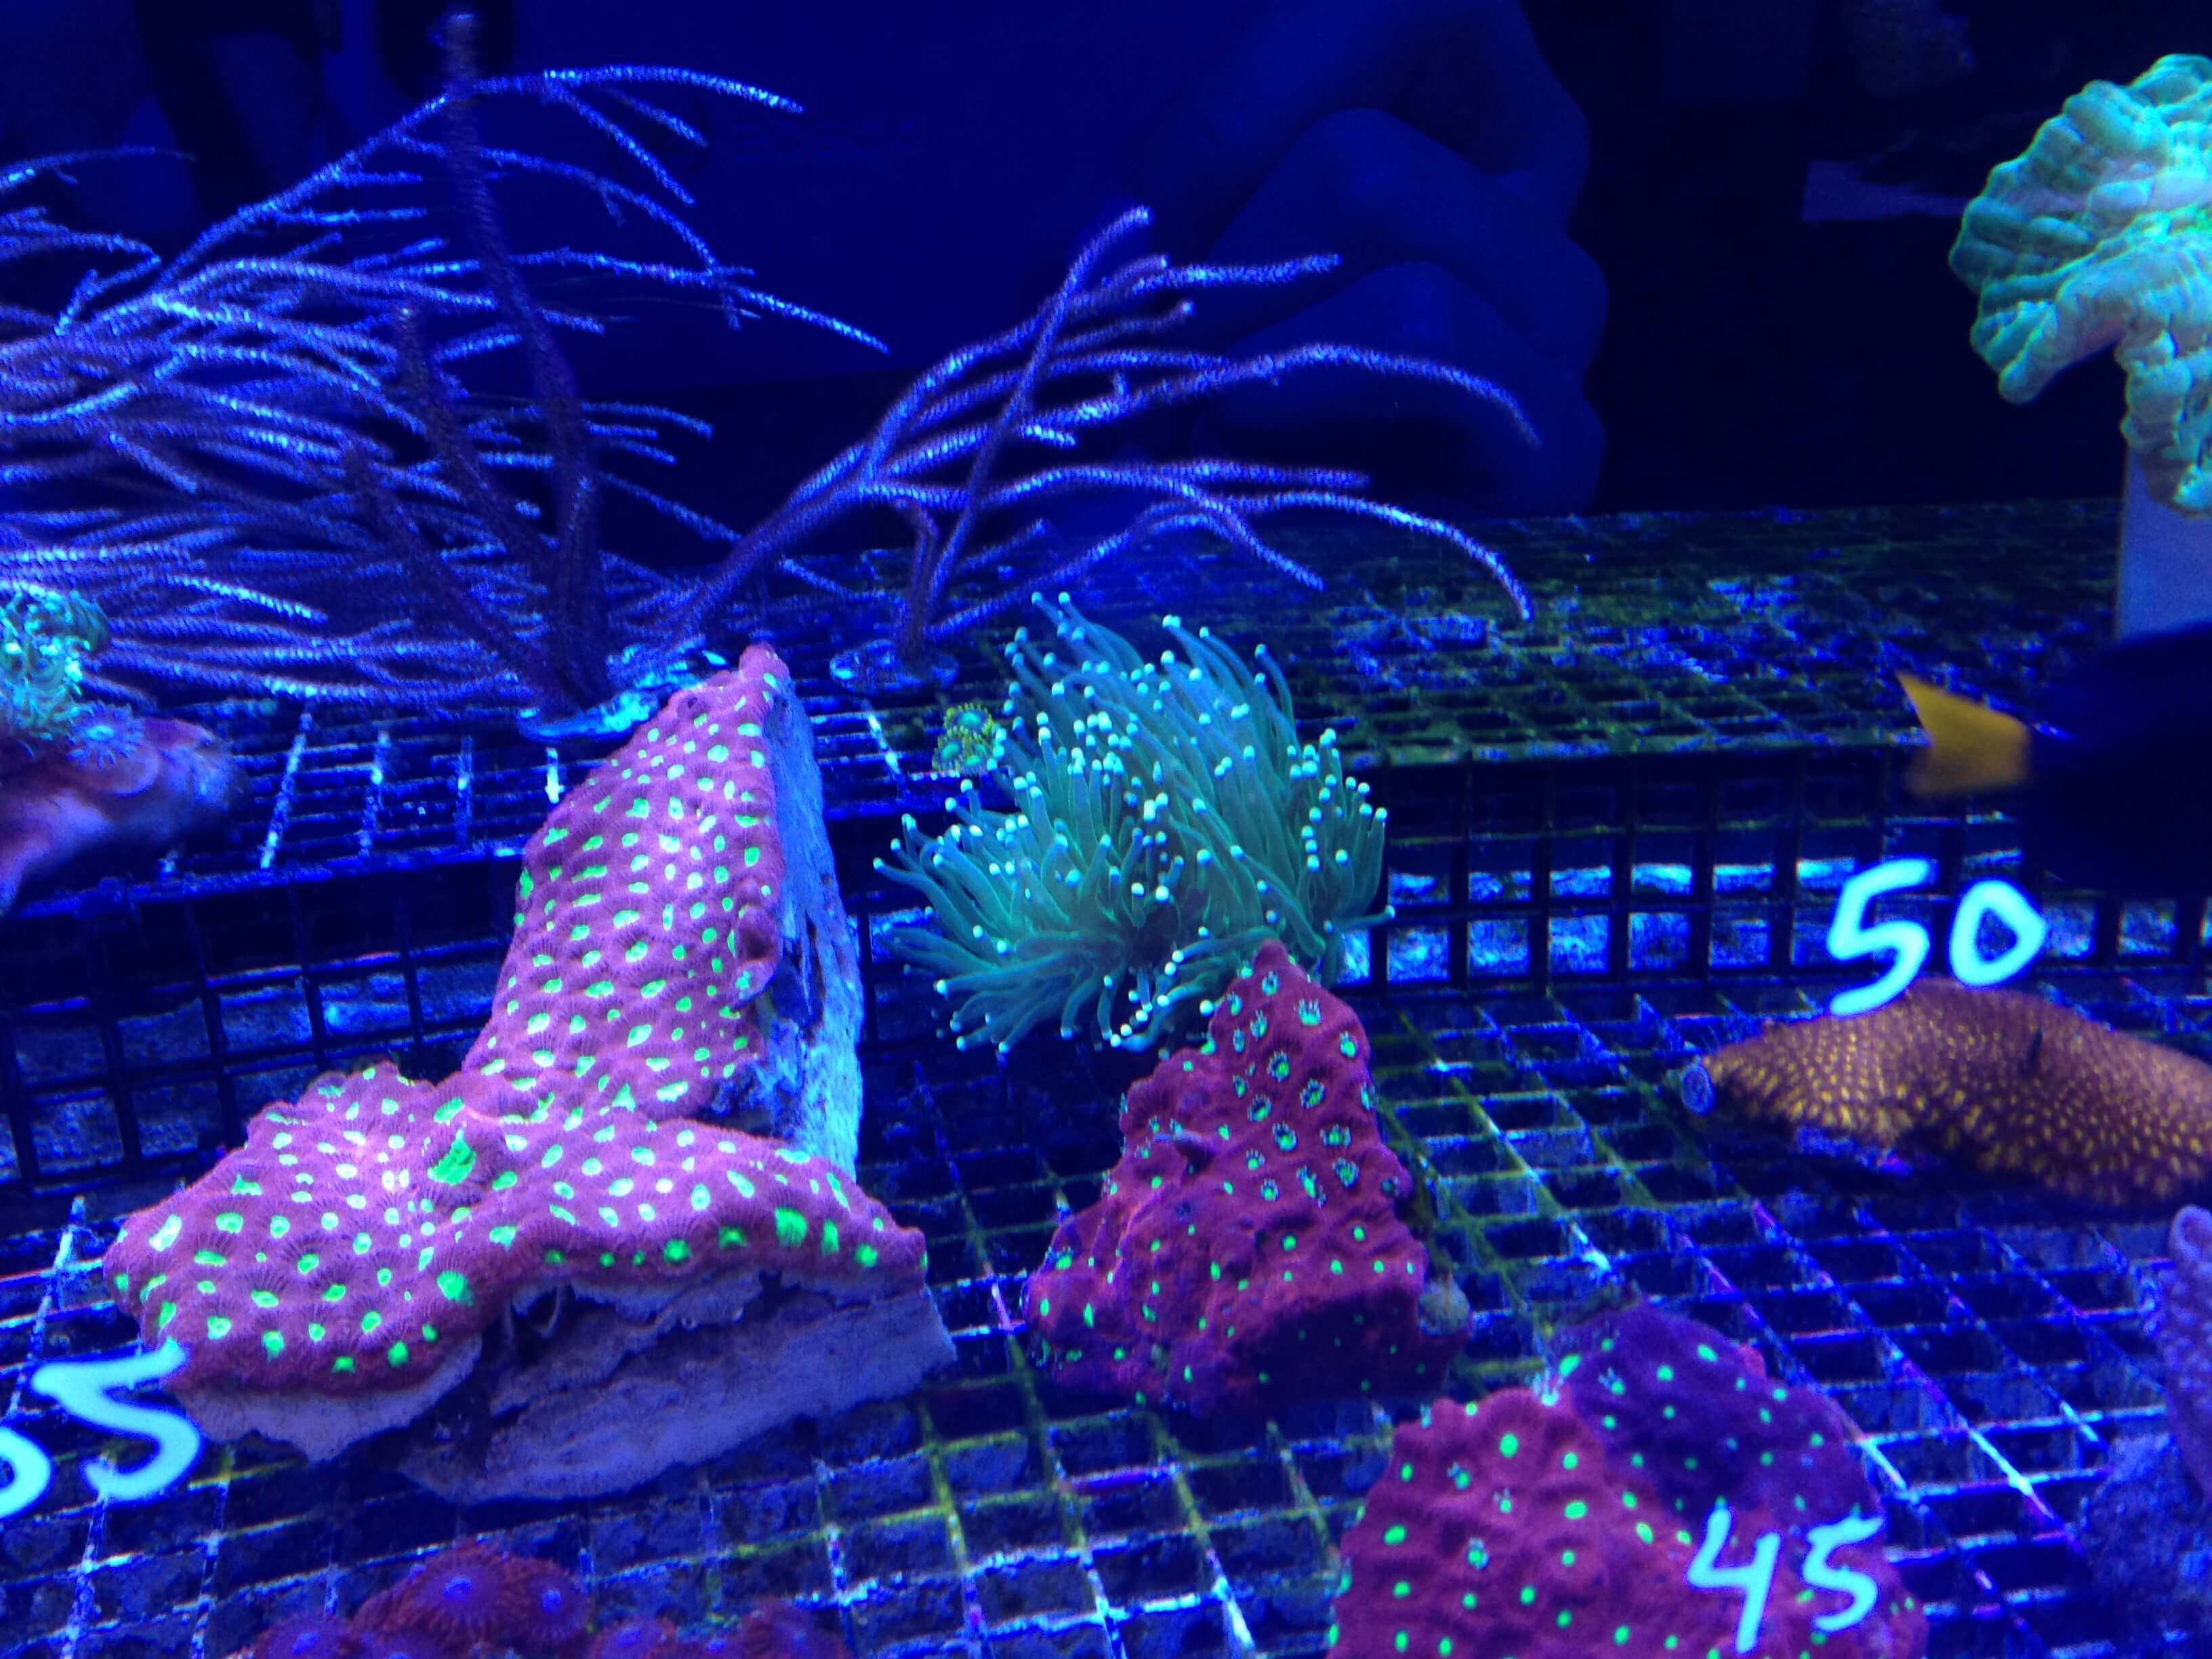
Shipping Coral Frags
Coral shipments have occurred for quite some time throughout history. Although it’s difficult to say exactly how long people have been shipping coral, museums such as London’s Natural History Museum have been collecting coral specimens since the eighteenth century.
Luckily, thanks to modern shipping providers, coral can be shipped throughout the country with an incredibly high success rate. Whether you're shipping a micromussa or an acan, as a responsible aquarist it's your job to do everything you can to ensure a successful shipment.
But first, you'll need to purchase some essential supplies.
Purchasing Supplies
Before shipping corals, you’ll want to have the following in your possession:
- Leak-Proof Shipping Bags
- Plastic Poly Bags
- 2oz Cups
- Rubberbands
- Shipping Cooler Box (or DIY)
- Shipping Container (Free)
- Newspaper or Tissue Paper for Insulation (or DIY)
- Cardboard
- Heat Pack or Ice Pack
- Scissors
- Packaging Tape
These items will cost you about $180 and will leave you with plenty of left over supplies.
Packaging the Coral
Now that you have all of the necessary supplies, you can start preparing the coral for shipment. For the sake of this guide, we’re going to assume you already have the coral frag detached from any live rock and attached to a frag plug .
Step 1: First, pierce the bottom of your 2oz cup with a pair of sharp scissors. Push the plug through the piercing, securing the coral in the cup.
Step 2: Fill the leak-proof bag with enough water from your aquarium so that your coral will be completely submerged. Typically this will be about 30-40% of the bag's volume.
Add your coral and ensure it’s fully submerged
Step 3: With a tight fist, grip the top portion of the bag and twist the lower half so that there is no air left in the bag. You should feel some resistance on the portion of the bag that you’ve been gripping. If you can feel the bag wanting to uncurl itself, it's sufficiently tightened.
Step 4: Take the top portion you’ve been gripping, and flip it to make a small loop. Pinch the bottom of the loop while wrapping it with a rubber band. Continue to wrap the rubber band around the loop you’re pinching until it’s extremely tight.
Step 5: Place the bagged coral in a clear plastic poly bag. Repeat steps 3 and 4 with the clear plastic poly bag.
Step 6: Add newspaper to the bottom of your cooler or DIY insulation box. Place the packaged coral in the center, then cover and surround the packaged coral with more newspaper.
Step 7: Place a cut piece of cardboard over the newspaper. This cardboard will serve as a separator for a heating or ice pack.
Add more newspaper over the cardboard.
Step 8: Make note of the shipping destination's weather forecast.
If you’re shipping to a warmer climate (80-90°F), wrap your ice pack with newspaper.
Use packing tape to secure the newspaper around the ice pack. Place the wrapped ice pack on top of the newspaper in the box. Loosely place additional newspaper to fill in the remaining space.
If you’re shipping to a colder climate (below 60°F), you’ll want to include a heat pack. Initiate the heat pack's heating process, and then loosely wrap the heat pack with newspaper.
Ensure that you do not completely cover the middle of the heat pack as it needs some degree of airflow to maintain heat.
Tape the heat pack to the insulation lid, making sure to not cover the center of the newspaper-wrapped heat pack with tape.
Step 9: Put the lid on the box and wrap the box with packing tape. Place the box into your shipping container, tape up the box, and add any additional labels needed for shipment.
Shipping the Coral
Now that your coral is properly packaged, you can take your package to your shipment provider.
We recommend taking your packaged coral to whatever shipping provider you’ve selected as late in the day as possible, which will reduce the total amount of hours your coral will be in shipment.
After giving the package to the shipping provider, make sure to get a tracking number, so that you can monitor your shipment and alert the receiver about any delays or issues with the shipment.
Monitoring the Shipment
Track the shipment in real-time by using the provided tracking number. If you notice any delays, be sure to let the receiver know so that they can be available when the coral has been delivered.
If you have any concerns about the frag's condition during transit, contact the shipping service provider for assistance.
Upon delivery, alert the receiver so that they can quickly unbox the coral, and congratulate yourself for successfully shipping a coral frag!
Conclusion
Shipping coral is not only a great way to trade with hobbyists, but for some reef keepers it has even led to a full-blown business.
Now that you’ve learned the ins and outs, do you plan on shipping more coral in the future? Let us know by commenting below, and be sure to check out our marketplace where you can sell coral and everything else related to this wonderful hobby.

Miles Harrison
With over a decade of aquarium experience, Miles can be found writing about saltwater and freshwater aquariums. When he’s not writing about fish, you can find him going for a run or building websites, such as this one!