CO2 Drop Checkers: How To Use, Position, Read & More
Posted by Miles Harrison on 12/14/2022
We use affiliate links and may receive a small commission on purchases.
If you’re looking to try your hand at caring for more demanding aquatic plants, you’ll need to inject carbon dioxide (CO2). Freshwater aquariums that inject carbon dioxide are often referred to as high-tech planted tanks, and with the proper knowledge, anyone can experience the joys of owning one of these unique aquariums.
You’ll need to purchase a CO2 canister, solenoid, and diffuser, but you’ll also need a way to monitor the amount of CO2 that’s being dissolved into the water column.
In comes the CO2 drop checker.
This useful tool serves an important role, and it’s critical that you learn how it works. In this post, we’re going to cover everything related to CO2 drop checkers, we’ll discuss how they work, where to place them, and much more. Let’s begin.

The Importance of CO2
Plants consume a lot of carbon dioxide in nature, and the world's sources of freshwater contain a staggering 100 times more CO2 than the world's oceans. Given this information, it comes as no surprise that some of the most unique aquatic plants in the hobby require additional CO2. While slow-growing plants such as anubias frazeri can grow without additional carbon dioxide, red aquatic plants or plants such as hygrophila salicifolia will greatly benefit from additional carbon dioxide. However, injecting CO2 comes with its risks.
Too much CO2 can be fatal to our tank inhabitants, and dramatic swings in water chemistry can harm sensitive invertebrates, such as orange pumpkin shrimp or black mystery snails.
In the absence of sufficient carbon dioxide, plants may experience stunted growth or even die as a result.
For these reasons, we must measure the amount of dissolved CO2.
CO2 Drop Checkers
CO2 drop checkers are small pieces of glass containing a reagent that changes color depending on the amount of dissolved CO2 in an aquarium. There are 3 different types of drop checkers: internal, external, and double-check.
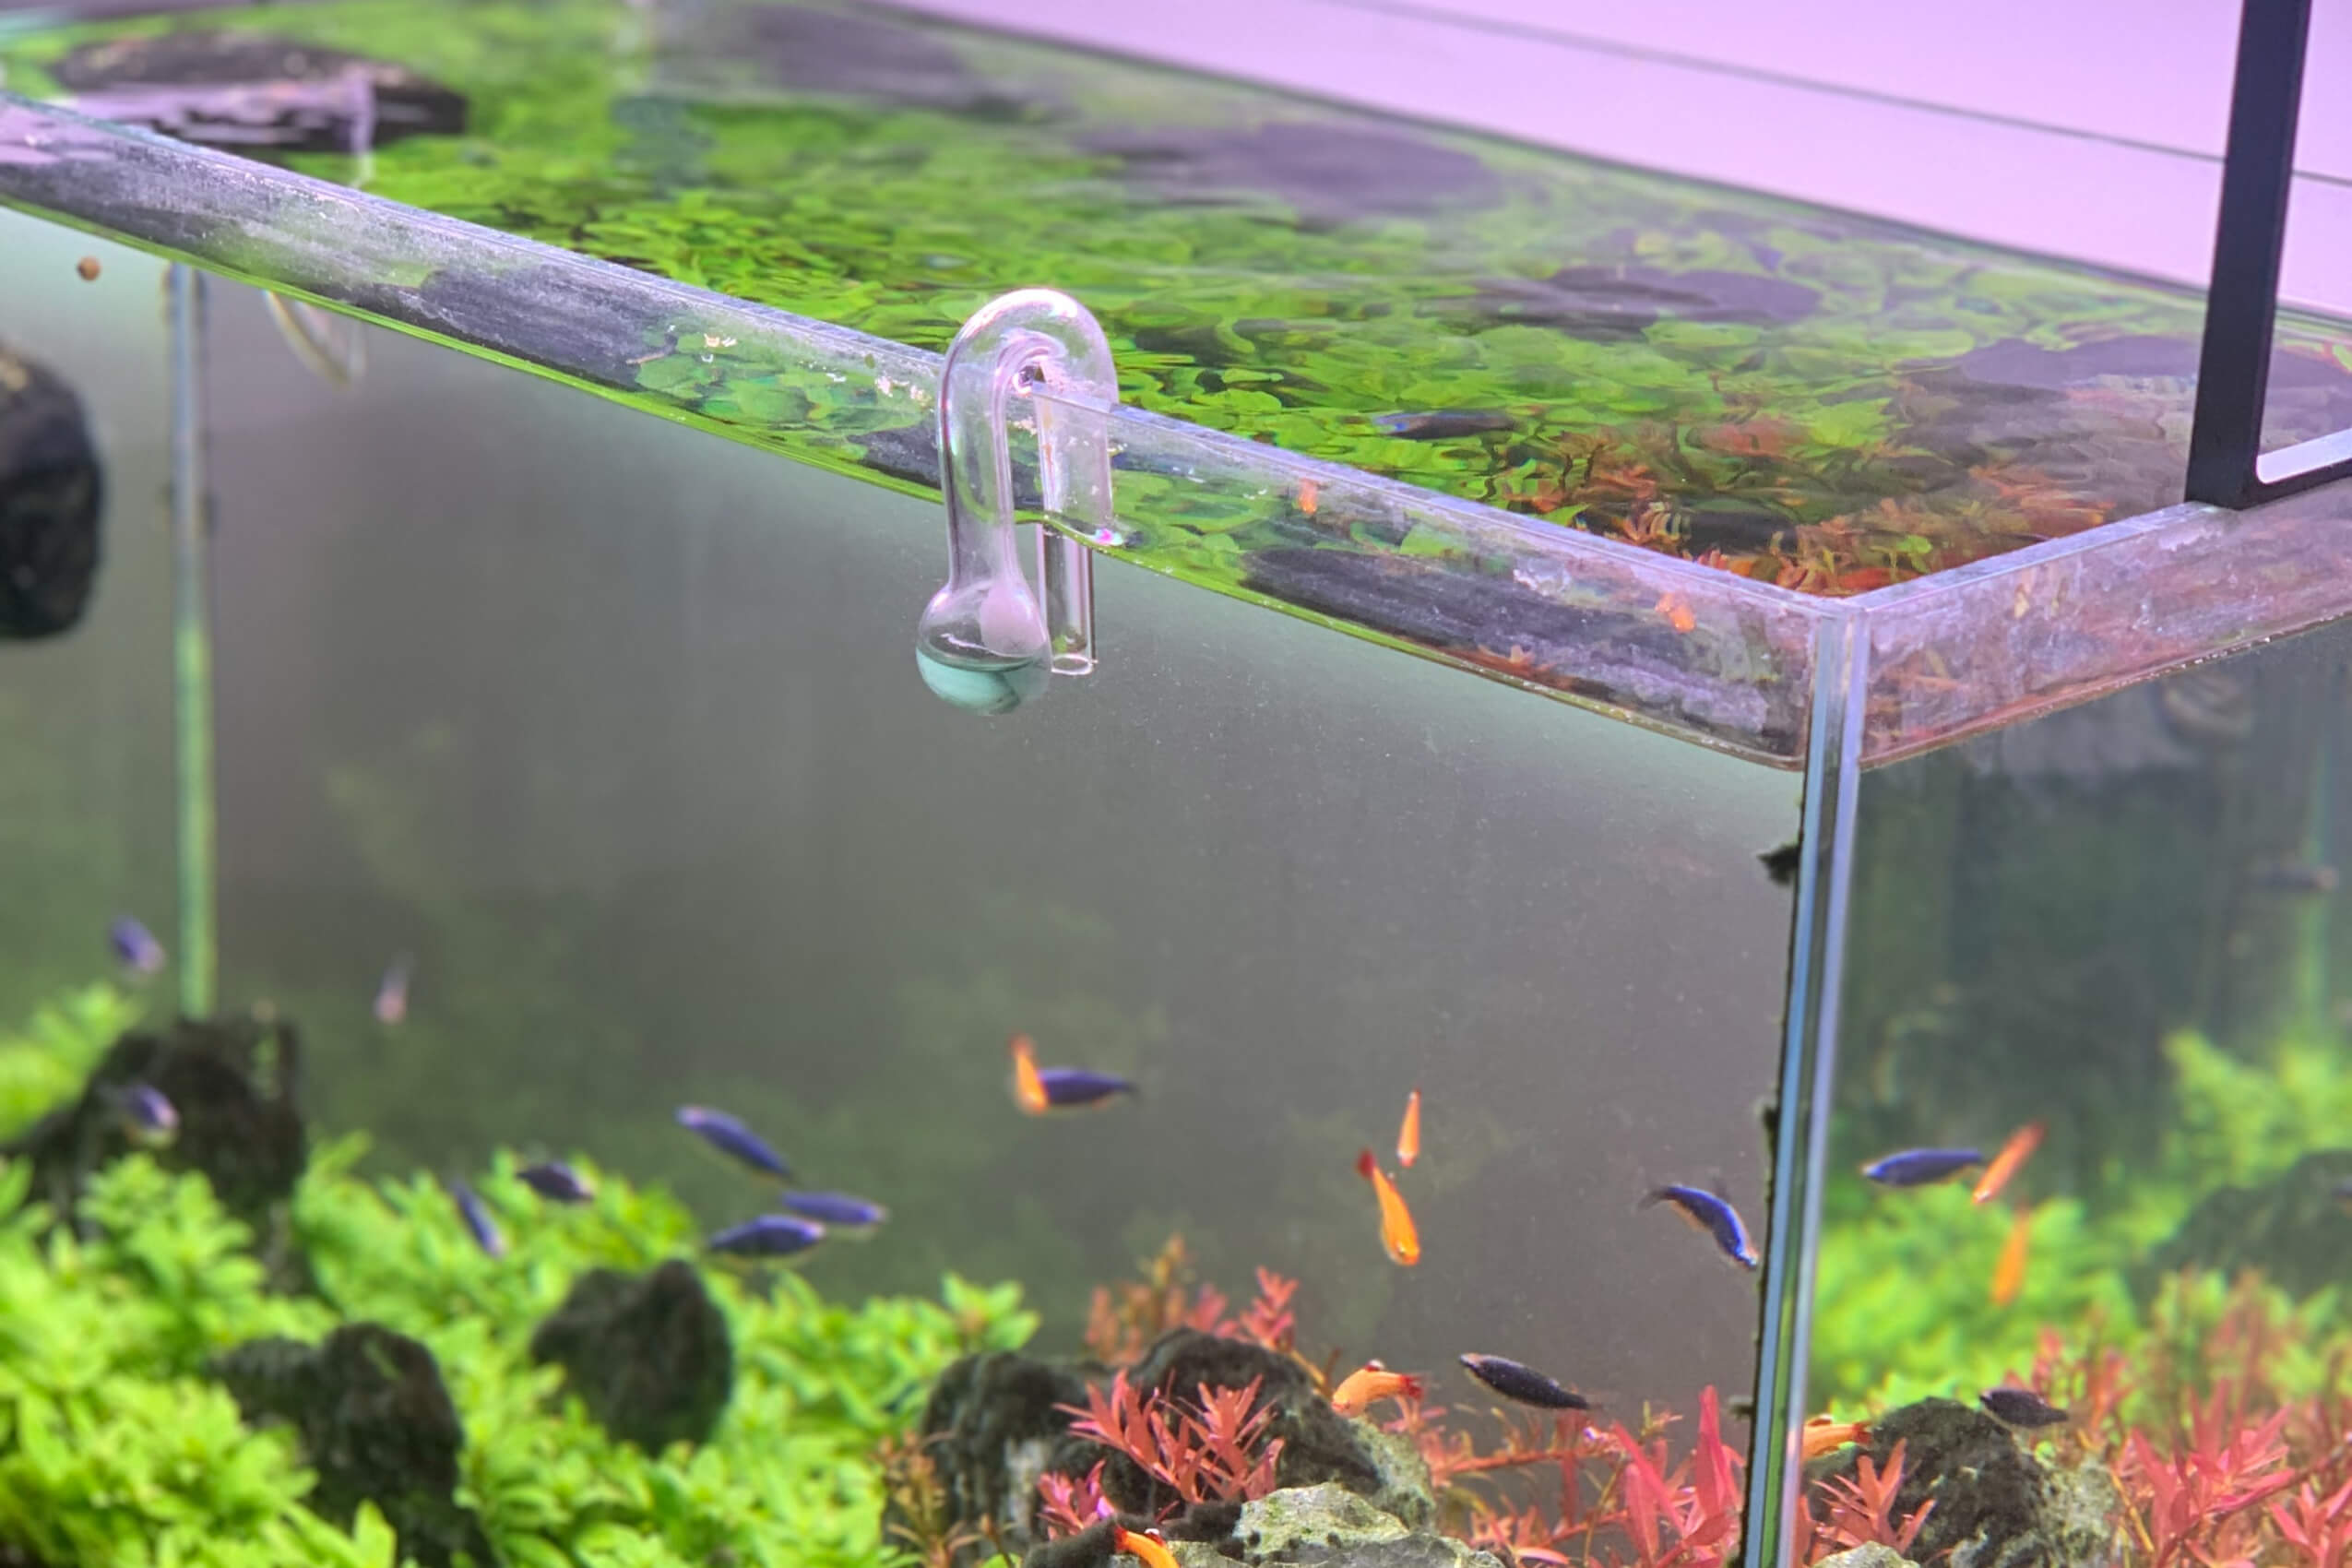
Internal drop checkers are the most common, and they attach to the aquarium glass by a suction cup. When the drop checker is fully submerged, captured air creates a barrier between the reagent and the aquarium water.
Internal drop checkers can be placed anywhere inside an aquarium. Being able to control the positioning can be quite beneficial, as it can help identify dead spots, where there is little to no flow, and CO2 is not being easily distributed.
🛒 Shop Freshwater Fish on Light Fish
External drop checkers hang on the rim of an aquarium, and the chamber which contains the reagent hangs on the outside of the tank. Although they function in the same manner as internal drop checkers, they can only be placed toward the top of the tank. External drop checkers are typically easier to clean and maintain.
Double-check drop checkers are internal drop checkers that typically have two chambers, one chamber contains the CO2 reagent, while the other contains a reference solution. These drop checkers are typically the most expensive, but they make it easy to visually detect a change in CO2, as you can compare the difference in reagent colors to formulate a more accurate reading.
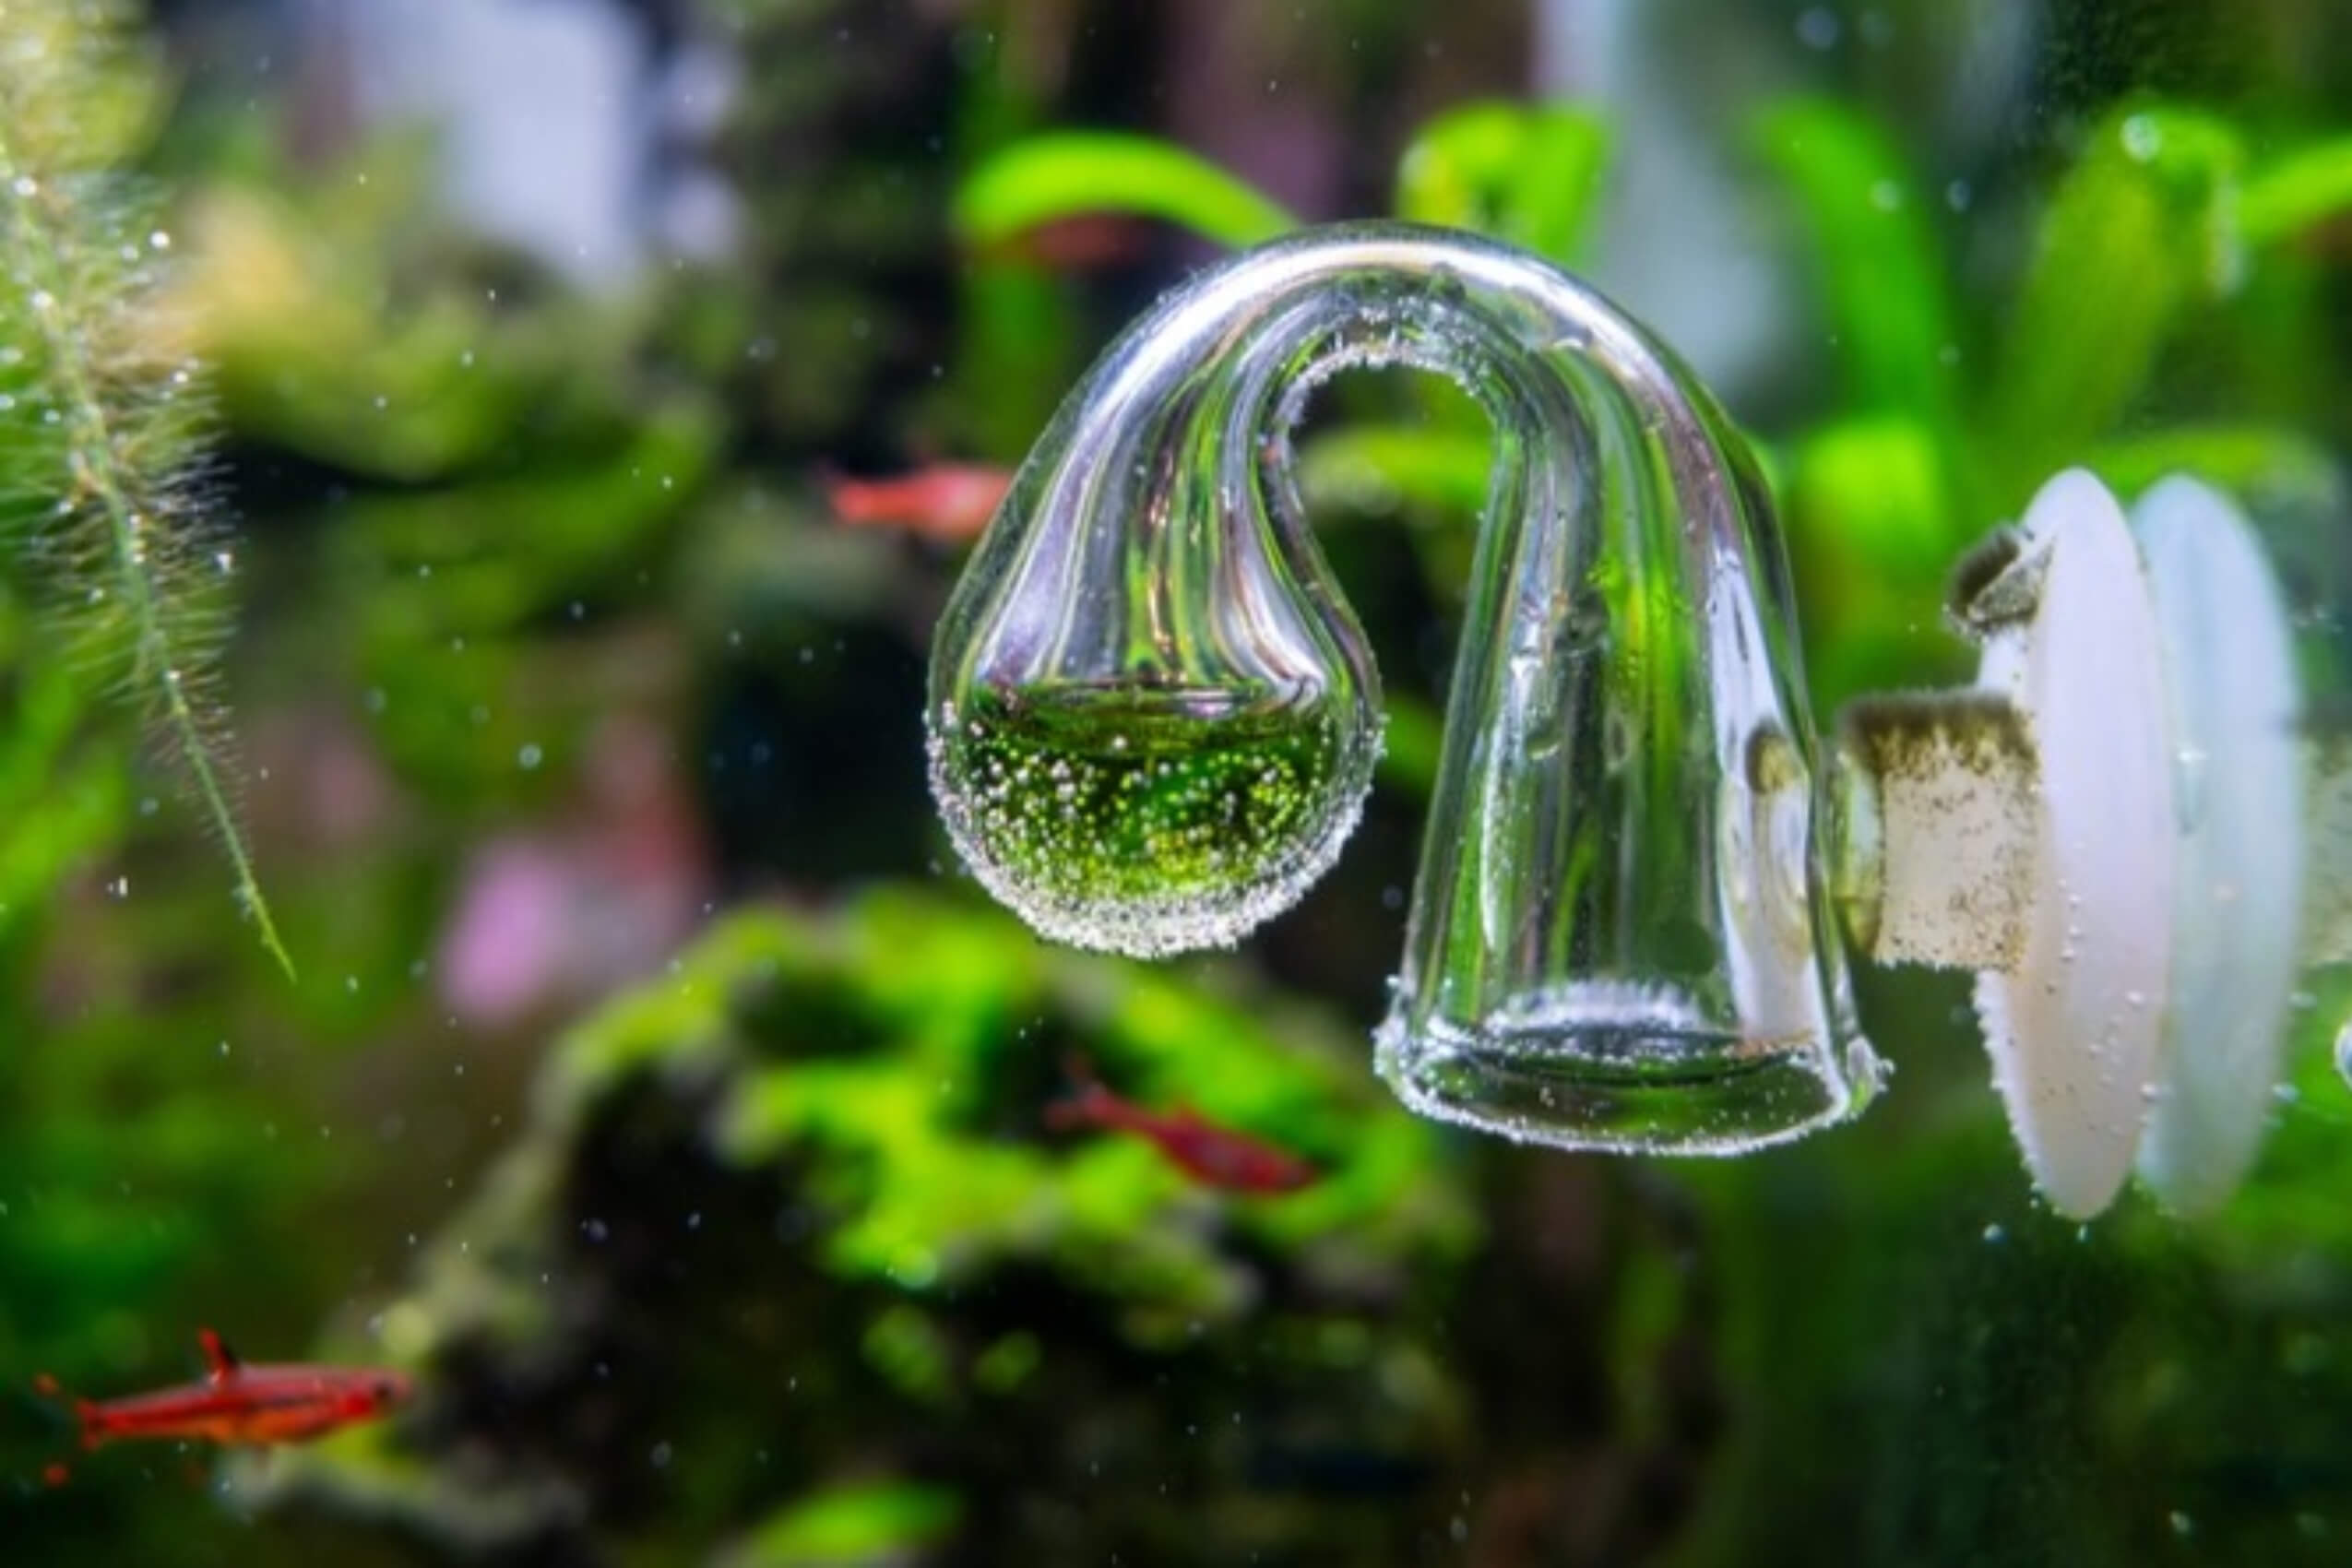
How They Work
CO2 drop checkers have a unique shape, where a small chamber is separated by airspace. They are typically sold with a reagent made up of reverse osmosis water and pure sodium bicarbonate (baking soda). It’s a base and when exposed to CO2, changes color as it becomes more acidic.
Over time, CO2 will naturally outgas from the water and into the drop checker’s airspace, which then gets absorbed by the reagent.
CO2 drop checkers change color after about 2-3 hours have passed. It’s important to know that what you are witnessing is a delayed reading. The readings you’re seeing are the readings from 2-3 hours ago.
Preparation
Before adding the CO2 drop checker to the aquarium, you’ll want to fill half the chamber with the reagent.
To add the reagent, place a few drops into the drop checker, and slowly rotate the drop checker back and forth so that the reagent flows into the chamber. Repeat this process until the chamber is half full with the reagent.
Placement
We recommend placing the CO2 drop checker in an easily visible location. If you’re diffusing CO2 through an inline diffuser, place the CO2 drop checker opposite the aquarium outflow. If you're using a ceramic diffuser, place the drop checker on the opposite side of the ceramic diffuser.
It’s important to place the drop checker away from the CO2 diffusion source. CO2 concentration will be higher near the CO2 diffusion source, resulting in inaccurate readings. Placing the drop checker opposite the diffusion source will ensure that CO2 is being diffused evenly throughout the aquarium.
Reading
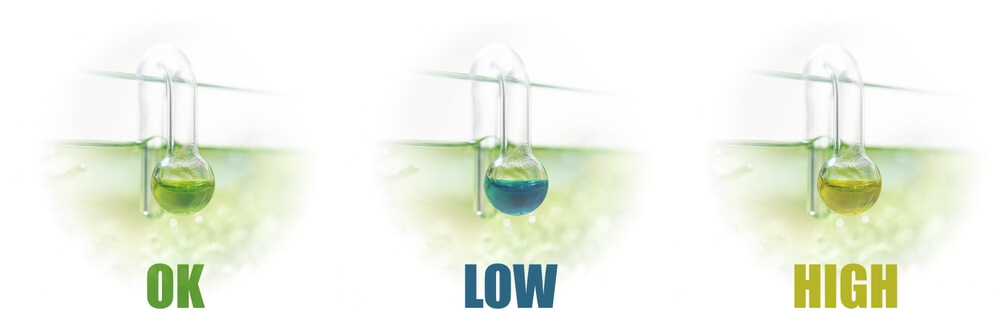
When CO2 levels are optimal (30 ppm), the drop checker should be lime green in color.
In an aquarium with low to no CO2, the drop checker will be somewhere between the colors blue and green. When CO2 levels get dangerously high, the drop checker will turn yellow.
In general, the drop checker readings serve as a good guide, but it’s more important that you notice a daily change in the drop checker readings, rather than having a drop checker continuously read the same color.
You need a lot of gaseous exchange to promote plant growth. At night, when your CO2 system is turned off, your aquarium will naturally off-gas CO2. With enough surface agitation, the reagent color should have changed to a dark green or blue color before your CO2 system kicks on.
If the drop checker is still lime green from the day before, you do not have enough gaseous exchange, and your plants will fail to grow, potentially resulting in an algae outbreak. If you’re not noticing the color change, consider adding a powerhead or a surface skimmer if you have a cannister filter, which will help increase the rate of gaseous exchange.
CO2 Drop Checker Maintenance
Now that you're up to speed on how to install a CO2 drop checker and take readings, you’ll want to perform regular maintenance. If you notice algae growing on the aquarium or drop checker, be sure to scrub it off, as algae such as green dust algae can make it difficult to accurately read the color.
You’ll also notice that over time, the color of the reagent will appear to fade, a sign that you’ll soon need to replace the reagent.
When to Replace The Reagent
Replace the CO2 drop checker reagent every 2-3 months. Empty the CO2 drop checker by tilting it back and forth to remove any remaining reagent. You can rinse the CO2 drop checker with tap water, just make sure that it’s empty before adding the reagent.
Consider replacing the reagent every 1-2 years. The longer the reagent bottle sits on your shelf, the less accurate it becomes.
Where To Purchase
Now that you’ve learned all about CO2 drop checkers, it’s time to purchase one! Always check to see whether or not your drop checker comes with the reagent, if it doesn’t you’ll need to purchase the reagent separately, or create it yourself.
Drop Checkers
CO2 drop checkers can be purchased from a variety of places. Typically when it comes to pricing, you get what you pay for in terms of quality. Cheaper drop checkers can be found online but keep in mind that cheap glass is more fragile and can break easily.
Durable drop checkers that are handmade can be purchased from shops that specialize in planted tank equipment, such as green leaf aquarium , but they come with a premium price tag.
You can expect to pay around $8 for a cheap CO2 drop checker and around $25-100 for a handmade one.
Reagent
Replacement reagent can be found on amazon and typically sells for around $10. Drop checker reagents can reduce in quality the longer they sit on shelves, so we recommend looking for a reputable vendor.
You can purchase reagents directly from trusted brands such as CO2 Art
DIY Reagent
If you’re looking to save some money, you can make your own reagent. You will need a high-range pH test kit reagent , a low-range pH test kit reagent , distilled or RO water, and baking soda.
Start by mixing 6 cups of distilled water with 1/8 teaspoon of baking soda. Pour out 3 cups of this mixture, add 3 cups of distilled water, and mix again.
Repeat this process two more times, pouring out 3 cups of the mixture and adding back 3 cups of distilled water each time. Then, pour out 1 cup of the mixture and add 1 cup of distilled water.
Now you have what’s known as a 4dKH solution. Fill a drop checker with the solution and add 2-3 drops of the low pH and high pH reagents from the pH test kits. You've now created your own reagent for your CO2 drop checker!
Conclusion
As you can see, the CO2 drop checker is another tool that planted tank hobbyists can use to test and monitor carbon dioxide levels.
Its affordability makes it an excellent purchase. Even with delayed readings, having a visual indicator for your aquarium's CO2 levels will not only help you grow fascinating plants, but it can also be a lifesaver for your tank inhabitants if something were to go awry.
Now that you’ve learned all about CO2 drop checkers, do you plan on adding one to your aquarium? Let us know by commenting below, and be sure to check out our community forum, where we discuss freshwater aquariums and aquatic plant keeping in more detail.

Miles Harrison
With over a decade of aquarium experience, Miles can be found writing about saltwater and freshwater aquariums. When he’s not writing about fish, you can find him going for a run or building websites, such as this one!
August's Giveaways on Light Fish