How to Ship Freshwater Shrimp in 9 Steps
Posted by Miles Harrison on 01/02/2022
Getting Started
Shipping shrimp can be stressful. How can we ensure our shrimp are kept safe and secure when traveling to different locations throughout the country? Follow these nine steps to make sure your freshwater shrimp are packaged safely for shipping.
Requirements
- USPS Priority Mailbox
- 1/2" Thick Insulation or Styrofoam
- Breather Bags
- Rubberbands
- Fabric Mesh
- Scissors
- Live Fish labels for package (build your own or purchase them online)
- Ice pack or heating pad depending on the shipping destination temperature
- Fish Net (to catch your shrimp!)
- Acclimation Instructions
- Business Card (optional)
🛒 Shop Best Sellers
Step One: Checking The Weather
Check the weather in the location where you are shipping your shrimp, avoid shipping when below 20°F or above 90°F.
Withold feeding your shrimp the day before shipping to reduce any excess waste.
Step Two: Adding Insulation
Use a knife or scissors to line the USPS Priority Mailbox with foam on all sides, including the top and bottom.

Insulation
Line your package with insulation to help regulate temperature.
Step Three: Managing Temperature
Include a heat or ice pack depending on where you are shipping your shrimp. If you need to include an ice pack, consider covering the ice pack with a small cloth to promote oxygen exchange.
Step Four: Filling The Breather Bag
Put a breather bag in a cup, and fill the bag with water. Add a small piece of mesh so shrimp have something to hold onto during shipping. Then, squeeze all of the air out of the breather bag.
Once the air has been removed from the breather bag, twist the top of the bag, fold it over, and then wrap tightly with at least 2 rubberbands.
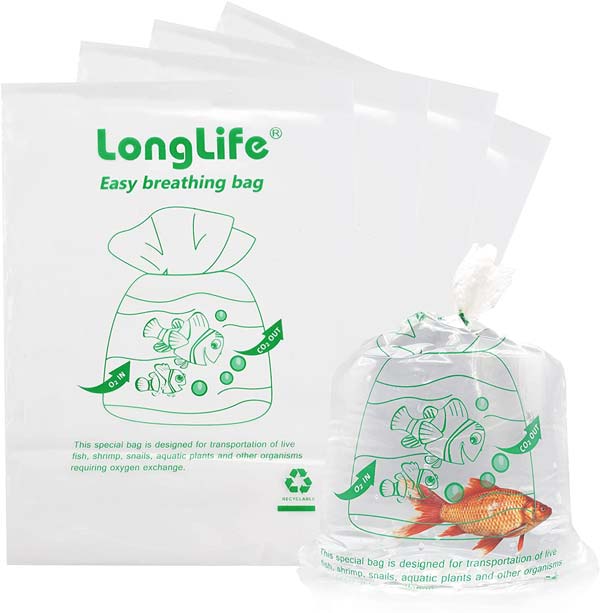
Breather Bags
Breather Bags like these from LongLife® are perfect for shipping shrimp.
Step Five: Checking For Leaks
Check the breather bags for any leaks. Wrap the breather bag with newspaper so that the breather bags don't touch any plastic to encourage oxygen exchange.
Step Six: Add Stuffing Or Newspaper
Add some stuffing or newspaper to the botton of the package, then add the breather bag with your shrimp.
Step Seven: Including Instructions
Include any business cards or acclimation instructions inside of your package.
Step Eight: Adding Package Labels
Add your live fish, or live shrimp labels to the outside of your package.
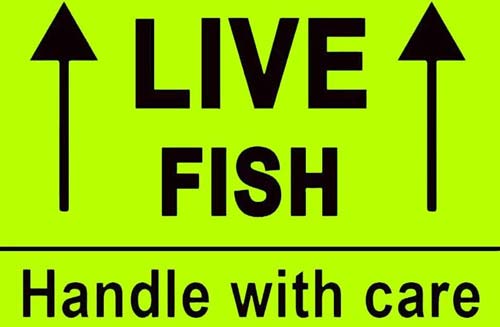
Live Fish Label
Labels like these can be taped onto your package to ensure safer handling from the carrier.
Step Nine: Mail Your Package!
Mail your package to the destination.
Additional Resources
We really like Girl Talks Fish's video on YouTube, How to Ship Live Fish & Shrimp like a Professional. She does a great job at explaining a lot of the steps mentioned above, and was the inspiration for this blog post. Be sure to check out her YouTube channel!
How to Ship Live Fish & Shrimp like a Professional
By Girl Talks Fish
Happy Shrimp Keeping!